|
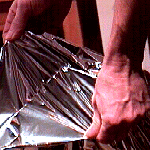
- Keep mylar rolled up until just before cutting and heat sealing due
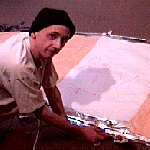
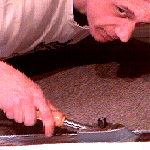
to bothersome curling, unless you have a big vacuum table. - Test your teflon hobby iron heat setting on mylar corner scraps. Too low and the seams pulls apart easily. Too high and the mylar starts to look like it has melted. -Wash hands before working on mylar. Avoid touching areas to be heat sealed. - Seams are 1/2 to 1 inch or so. Thicker seams are heavier but hold gas better. - A paper pattern and felt tip marker are used to lay out razor cuts on mylar. Masking tape holds things down. Short carpet is good to work on with a piece of smooth cardboard moved along cutting or ironing line.
 - Concentration helps. Visualize tiny helium atoms flowing freely thru seam flaws. Small deviations in ironing lines appear as bumps and wrinkles in blimp.
 - Use small amounts of common mylar packing tape to attach filler nipples, payload anchors, etc. Nipples can be cut from a small light weight plastic bottles. Nipple is usually located at rear gore junction. - Loosely roll or fold finished envelope and store in a trash bag or box. - Avoid filling bag too fast or over pressurizing.
 |